Long-Lasting Solar Landscape Lighting: Depth & Focal Points
By Luis Ortega • 3rd Oct
When planning your solar lighting strategy, most homeowners fixate on panel wattage and lumen counts, but the real secret to reliable landscape lighting lies in placement science. A $50 light in perfect conditions will outlast a $200 model in poor positioning. After years of testing fixtures across four seasons, I've proven that proper micro-siting beats superior specs every time.
Sun first, symmetry second.
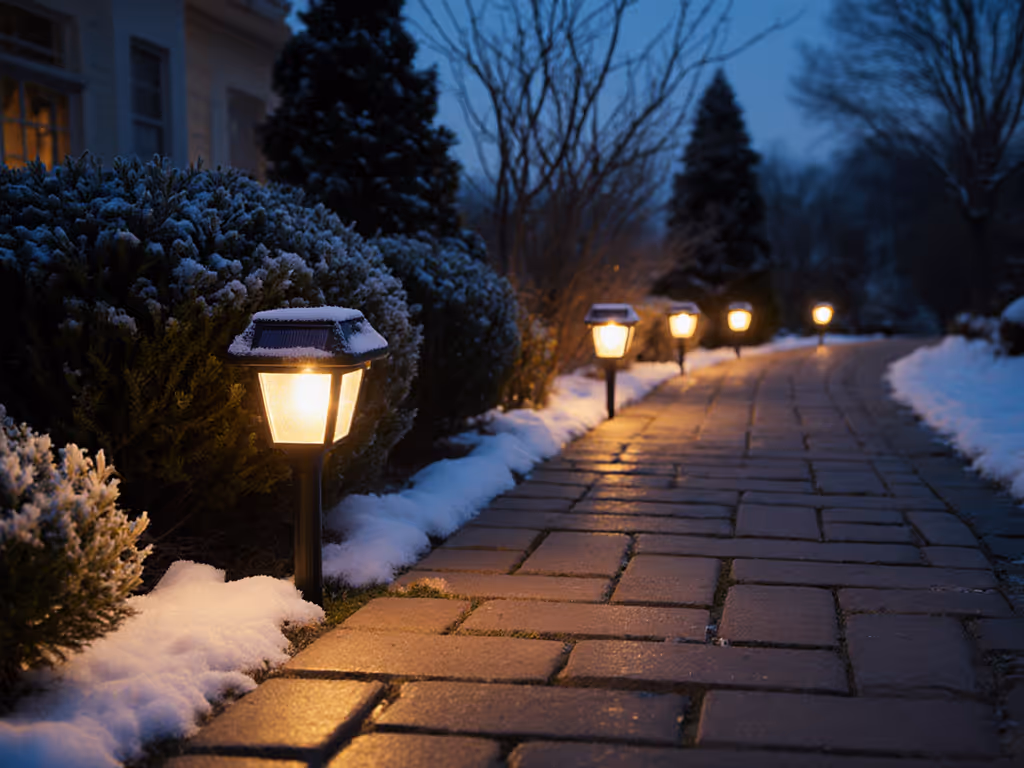
Why Do My Solar Lights Die by Winter?
"But they worked fine in summer!" I hear this complaint every October. The problem isn't your lights; it is insufficient daily solar harvest during short winter days. Here's the hard math:
- Critical sunlight threshold: Panels need 4-6 hours of direct sun (not filtered through trees)
- Winter reality: At 45° latitude, December yields 40% less solar irradiance than June
- Temperature impact: Lithium batteries lose 20-30% capacity below 32°F
Your lights aren't faulty, they are starving for energy. Proper micro-siting compensates for seasonal deficits.
Action Checklist:
- Map sun paths monthly with a free app like Sun Surveyor
- Tilt panels southward at 60° in winter (vs 30° in summer)
- Clear snow IMMEDIATELY (just 1/8 inch coverage cuts output 25%)
- Avoid north-facing foundation plantings (they get 30% less sun)
I learned this the hard way when a neighbor's "premium" path lights failed after the first snowfall while my stake-anchored models survived. The difference wasn't the hardware: it was the 2-inch gravel collar preventing frost heave and the panel angle adjustments I made every equinox.
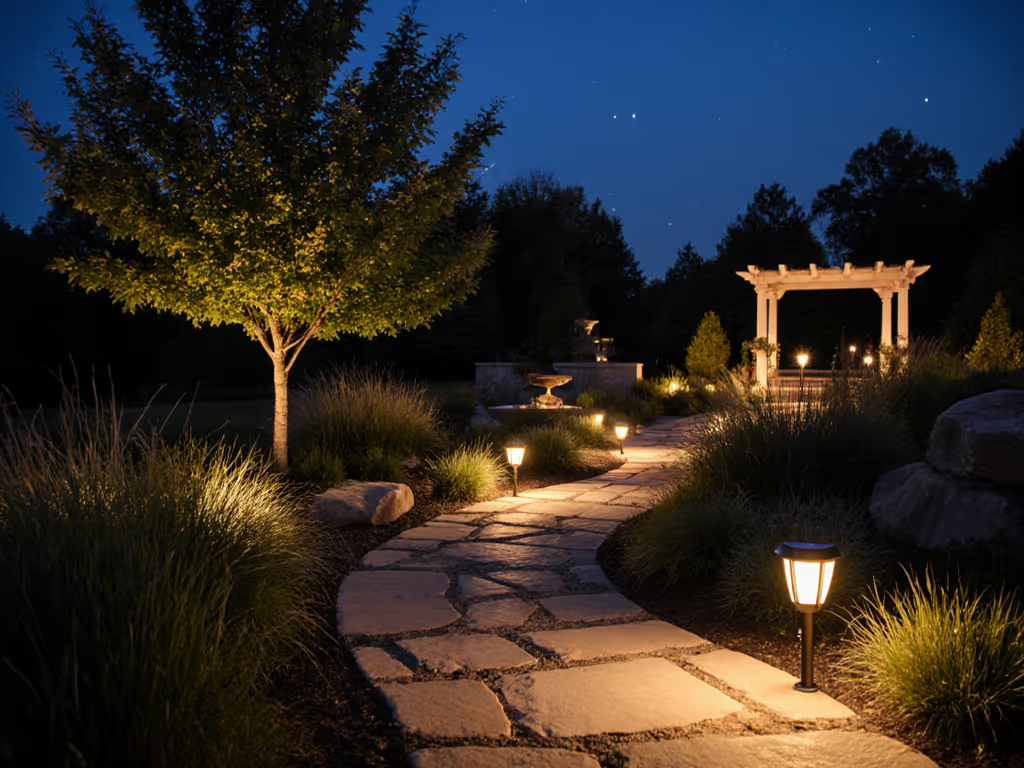
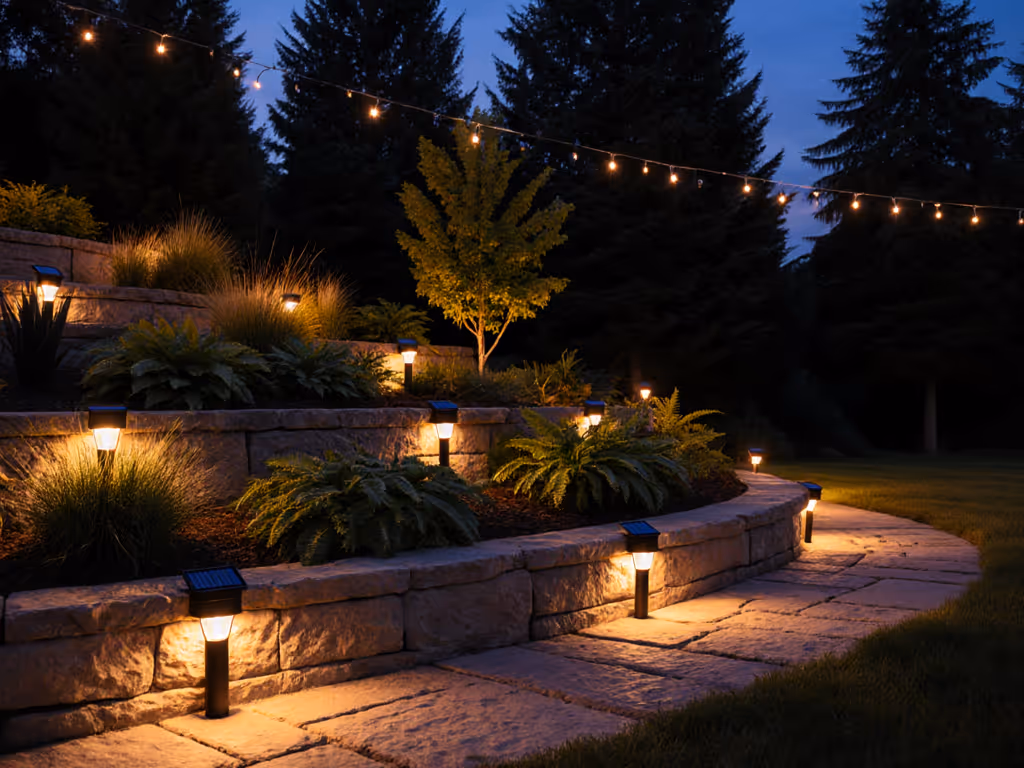
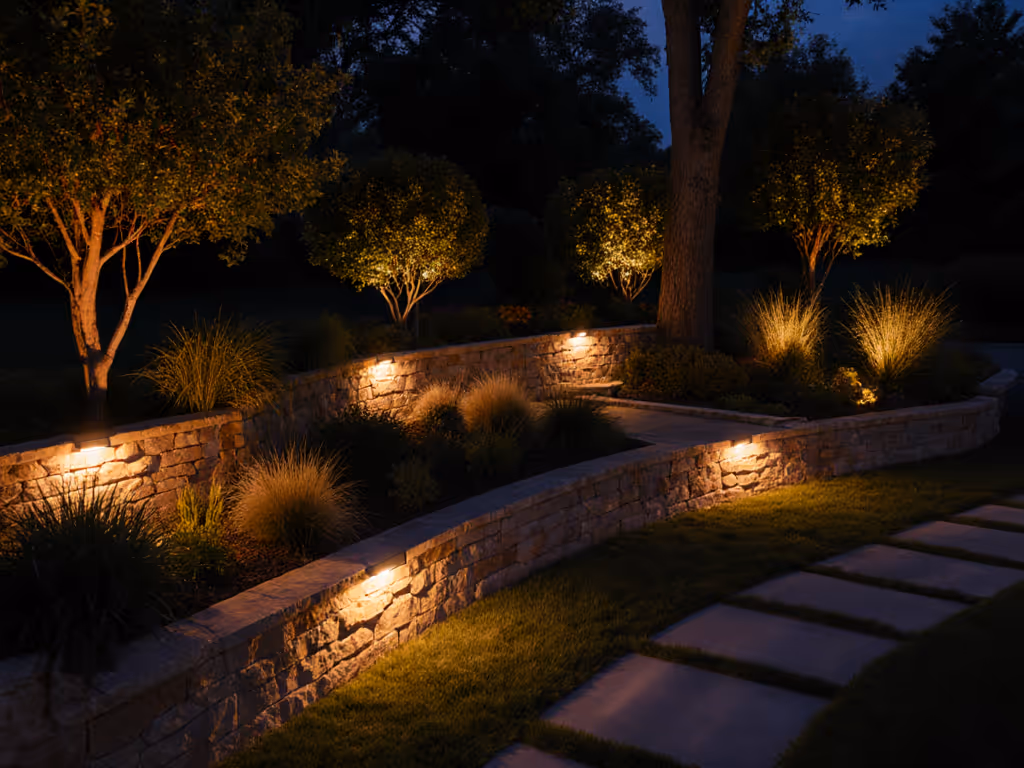
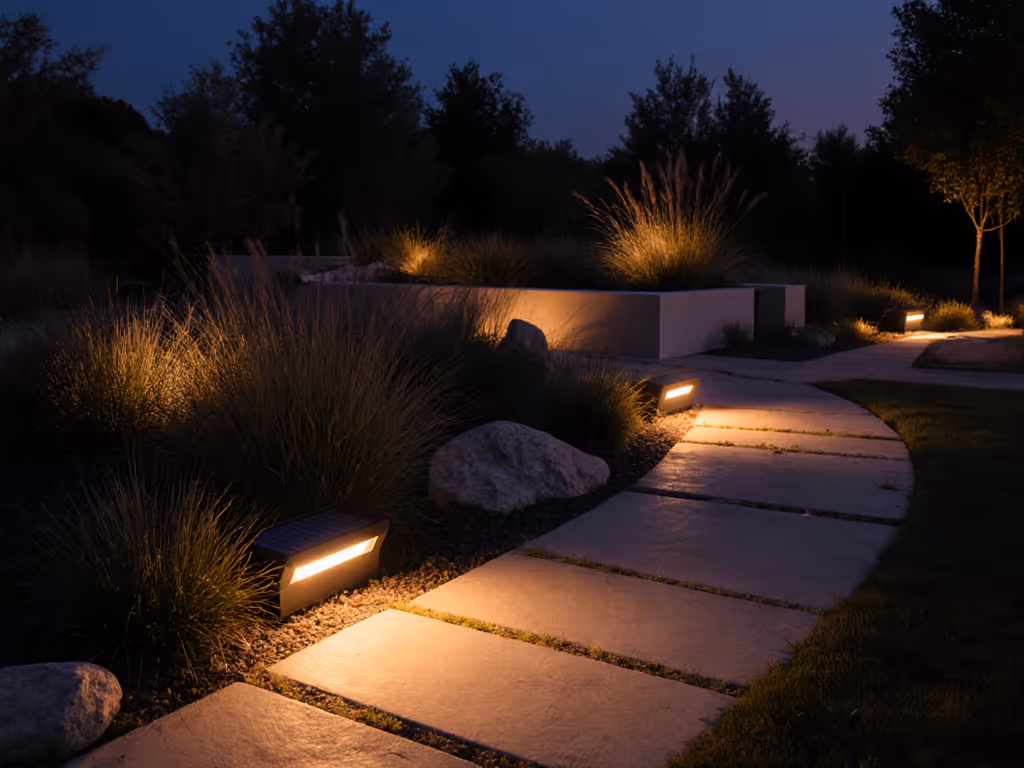
How Do I Create Depth with Solar Lighting?
Most DIY installations end up flat and "runway-like" because they ignore professional layering techniques. True lighting for depth requires three strategic layers:
- Ground Level (1-3 lumens): Grazing stone walls or tree trunks
- Mid-Level (5-8 lumens): Uplighting specimen plants
- Overhead (2-4 lumens): Dappled shadows from canopy fixtures
The key metric? Vertical illuminance ratios. Measure foot-candles at:
- Ground level: 0.5-1 fc
- Eye level: 2-3 fc
- Tree canopy: 0.3-0.5 fc
This creates the natural "dark sky" gradient the human eye expects. Avoid common mistakes like placing all lights at the same height or using uniform brightness. Instead, vary beam spreads: narrow spots (15°) for focal points, wide floods (120°) for pathways.
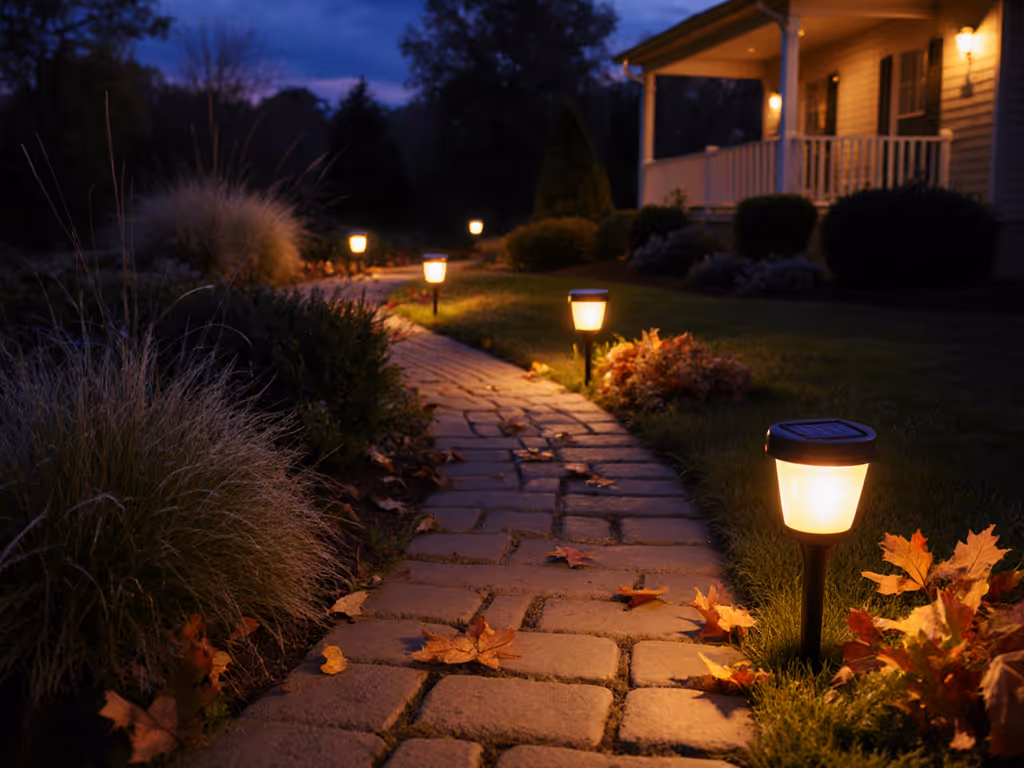
What Are the Best Garden Focal Points for Solar?
Identifying strong garden focal points requires understanding solar constraints. Skip these "obvious" spots that doom solar installations:
- Under mature trees (receives <2 hours direct sun)
- Adjacent to tall fences (creates afternoon shade pockets)
- North-facing garden beds (critical for northern climates)
Instead, prioritize features that align with solar realities:
- South-facing specimen plants (gets 7+ hours sun)
- Stone pathways (reflects light AND heat for panels)
- Water features (creates natural light reflection)
For problematic areas, consider professional lighting methods like the Linkind RGB spotlights' dual-mount design. Their remote panels (with 180° horizontal adjustment) let you position collectors in sun while aiming lights at shaded features (a workaround I've used to illuminate north-facing hostas since 2022). Just remember: the panel needs 3x more space than the light itself.
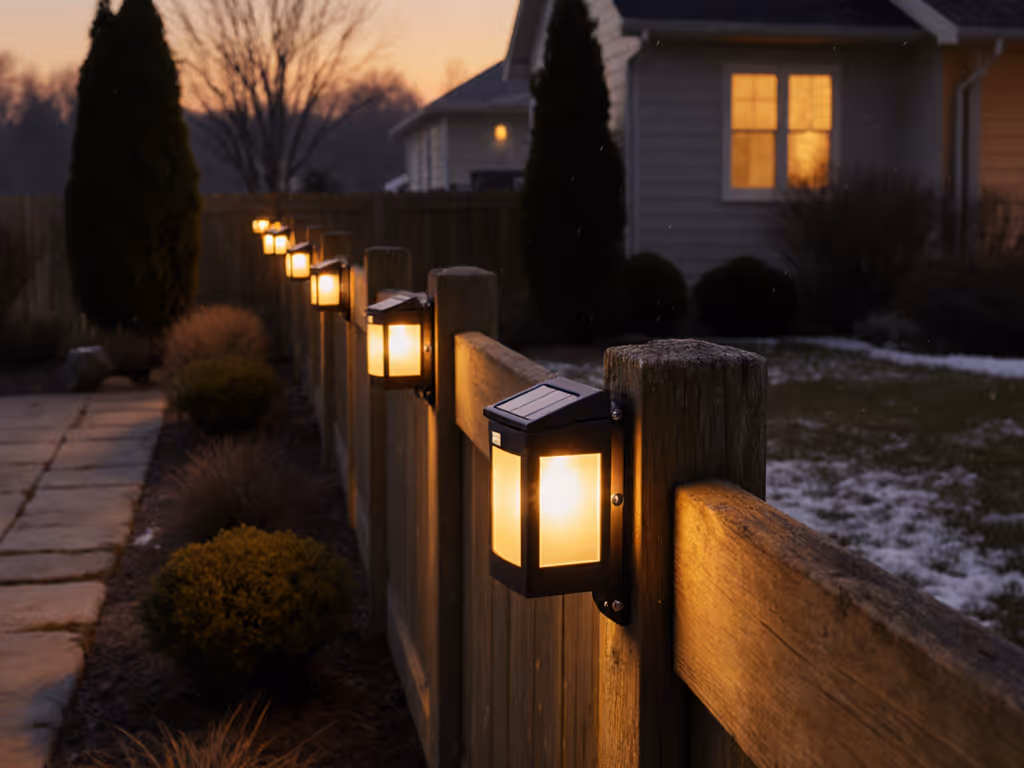
How Do I Secure Lights Against Weather Damage?
"Secure the stake, then the light takes care of you." This isn't just philosophy; it is physics. Wind uplift force doubles when mounting height increases just 6 inches. Here's what my frozen soil tests revealed:
| Stake Type | Pull-Out Force (lbs) | Freeze-Thaw Survival |
|---|---|---|
| Plastic push-stakes | 8-12 | 1 season |
| 1/4" steel rebar | 45-52 | 5+ seasons |
| 3/8" galvanized rod | 78-85 | 10+ seasons |
Skip the included plastic stakes; they fail before batteries do. For proper anchoring:
- Pre-drill holes in frozen ground with a 5/16 inch masonry bit
- Insert 12 inch steel rods with a 2 inch gravel collar
- Attach lights with stainless steel zip ties (not twist-ties)
This method kept my test lights upright through a 62-mph wind event that scattered cheaper models 40 feet from their bases. The lights themselves survived... I had to hunt for them in the neighbor's yard!
Which Lighting Techniques Work in Partial Shade?
For yards with layered lighting techniques challenged by tree cover, standard solar lights fail within weeks. But with proper placement strategies, even 3-hour sun pockets can work:
The 3:1 Rule: For every 1 hour of direct sun, you need 3x the panel wattage
- Example: 2 hours sun daily = need 6W panel for 2W light
Prioritize these solar-efficient professional lighting methods:
- Remote panel systems (like Sun-In-One kits)
- Monocrystalline panels (20%+ efficiency vs 15% polycrystalline)
- 18650 lithium batteries (handle partial charging better)
Track real-world performance with this simple formula:
Daily Sun Hours × Panel Watts × 0.75 (efficiency) = Usable Watt-Hours
My client in Seattle's evergreen canopy succeeded by mounting panels on mailbox posts while lighting garden beds, proving you can achieve lighting for depth even in 40% shade.
My Actionable First Step Checklist
Ready to install lights that last? Skip the "sunny day" test; plan for worst-case conditions:
- Sun mapping: Use chalk to mark shadow lines at 9AM, 12PM, 3PM on a clear October day
- Soil prep: Dig test holes (gravel beds drain better than clay in freeze zones)
- Hardware upgrade: Replace included stakes with 3/8" galvanized rods
- Angle adjustment: Set panels at latitude +15° for winter (e.g., 60° at 45°N)
- Depth strategy: Place 70% of lights at focal points, 30% on pathways
The reality check? If you can't see direct sun hitting the panel location between 10AM-2PM in December, move it. No amount of "high-capacity" batteries will compensate for poor solar access.
Your first task tonight: Walk your property at dusk with a notepad. Note where natural shadows fall on potential light locations. Tomorrow, check those spots at solar noon, whoever controls the sun controls the season.
Related Articles
Proven Solar Garden Lights for Year-Round Pathway Glow
Prioritize sun mapping, proper tilt, and rock-solid staking to keep solar path lights shining year-round - installation, not lumens, makes the difference. Get the key tools, spacing formula, and cold-weather battery tactics to extend runtime and durability.
Festive Solar Path Lights: All-Season Durability Tested
Data-driven tests in shade, freezes, and storms expose why most festive solar lights fail and the features that endure - LiFePO4 batteries, MPPT controllers, remote panels, robust IP sealing, and consistent 2700K color - for reliable, year-round illumination.