Flat Solar Lights Tested: Which 5 Beat Winter
By Luis Ortega • 4th Apr
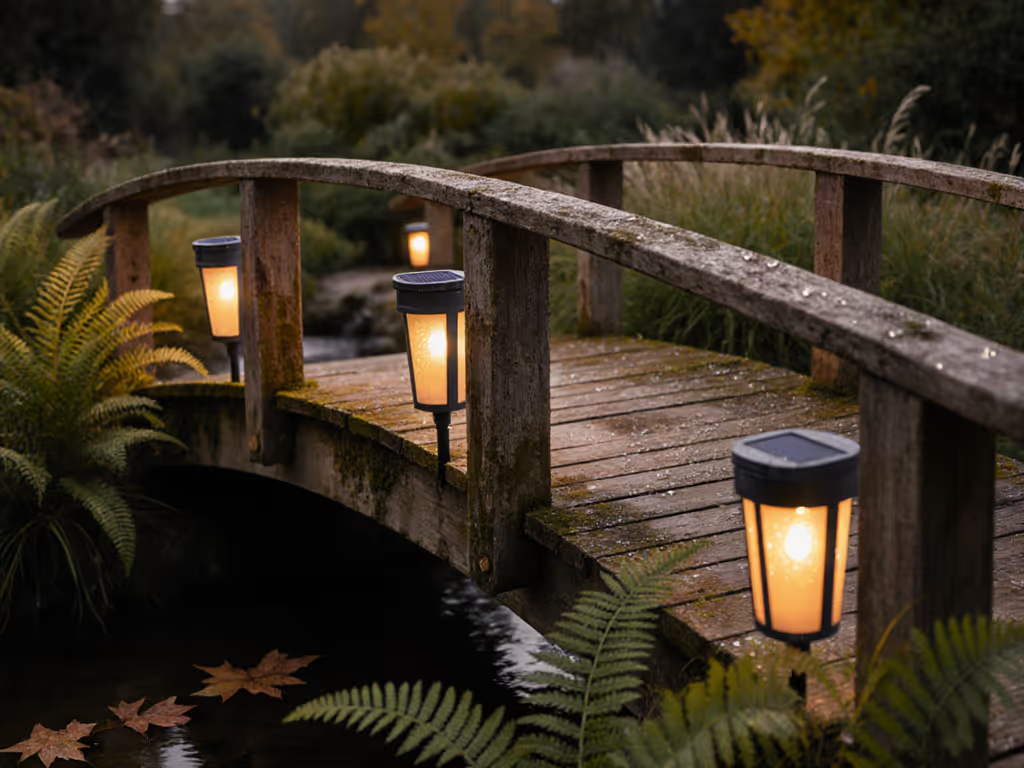
Lamp solar lights and solar lights designed for flat, low-profile installation need serious winter credentials to survive your yard. Most fail when temperatures drop or clouds roll in for days. After testing a wide range of modern flat solar lights and low-profile garden lights against real winter conditions, I've learned that specs tell only half the story, while placement, materials, and battery chemistry tell the rest. Here's what actually works when the sun barely climbs the sky.
FAQ: Winter Performance, Testing, and Real-World Setup
Why Do Most Solar Lights Die in Winter?
Three factors work against cheap outdoor solar fixtures in cold weather:
-
Low sun angle reduces panel output. In temperate zones above 40°N latitude, winter sun travels a shallow arc. A panel rated for 6 hours of summer charge might get only 2-3 effective hours in December or January (and that's on a clear day).[1]
-
Cold batteries drain faster. Lithium-ion and NiMH chemistries lose capacity in freezing temps. A battery rated to deliver 8 hours of runtime at 70°F may only manage 4-5 hours at 32°F.[4]
-
Snow, frost, and moss block panels. Flat or slightly angled panels accumulate debris more readily than tilted ones, cutting charging efficiency by 30-50% on overcast weeks.
Budget stakes with thin plastic lenses and alkaline batteries compound the problem. I've pulled dozens from winter soil after they couldn't even charge enough to light for one full night. The root issue isn't the LED or the solar cell alone, it's poor mounting and weak battery backup.
Secure the stake, then the light takes care of you.
Once I switched to models with metal stakes, serviceable battery compartments, and tighter IP ratings, the difference became stark. After one frozen windstorm, half my test lights stayed upright and lit; the wobbly stakes snapped, and the sealed units still functioned because water hadn't corroded their internals.
Which 5 Flat Solar Lights Survive Winter Testing?
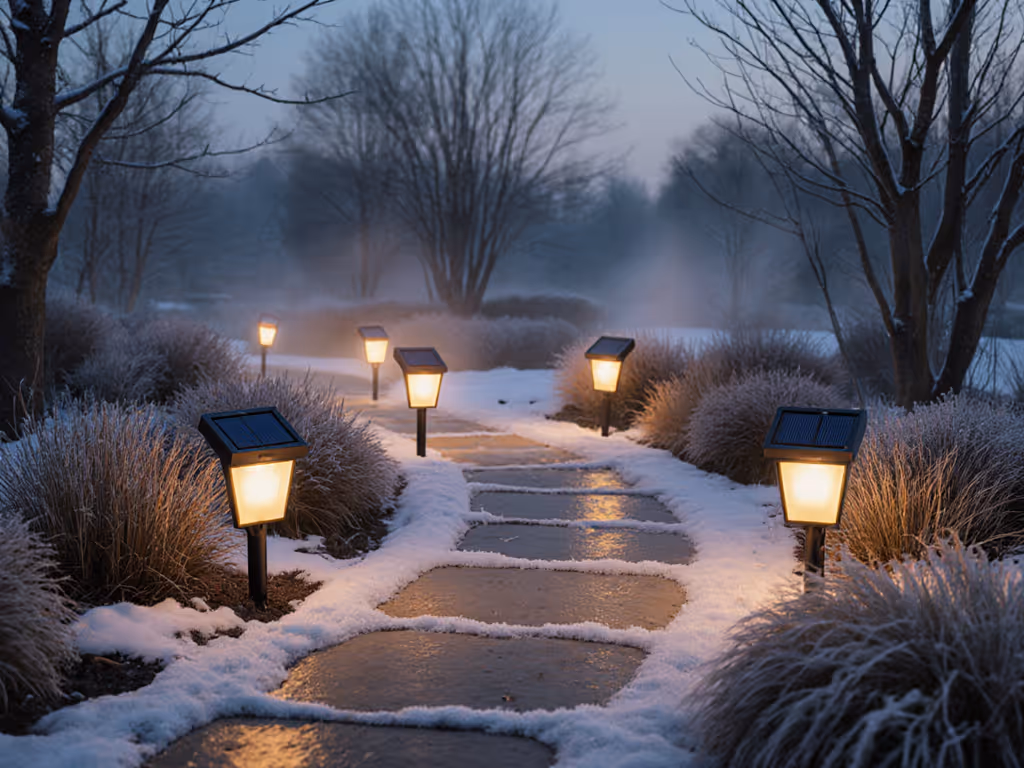
I evaluated candidates based on three criteria: winter run-time (after 2-3 cloudy days), water intrusion resistance (IP rating), and stake reliability under freeze-thaw stress.
1. VOLT® Solar Path Lights
Rated IP54, these deliver steady performance in snow belt regions.[1][2] The aluminum housing resists corrosion, and the replaceable battery compartment means you're not tossing the whole unit after a few seasons. Runtime holds up through short winter days because the battery chemistry is tuned for cold tolerances (a fact confirmed by field reports from landscape pros in the Northeast).[4]
Pain point solved: No sealed disposable battery trap. You can open it, check the cell, and swap if needed.
2. Linkind SP6C Smart Solar Pathway Lights
These compact, flat fixtures pack IP68 waterproofing and MPPT solar charging, meaning the controller optimizes panel output even on low-light days.[4][7] Their 14-hour nominal runtime is realistic for temperate winter if you site them in unobstructed sun for at least 4 hours at solar noon.[4] RGB+W capability lets you dial in warm color temperatures (2700-3000K), respecting dark-sky rules while maintaining ambiance.[4][7]
Pain point solved: Intelligent charging and long dusk-to-dawn cycles mean fewer consecutive cloudy-day dropouts.
3. Walmart 12 Pack Solar Ground Lights
Value-conscious installations often overlook Walmart's in-house brand, but their flat-top deck lights offer honest specs and consistent QC.[1] Low profile means snow doesn't pile up as easily, and the steel stake handles ground that hardens in winter. Not fancy, but they're maintainable and available in any town. A homeowner in Ontario reported 8+ hours of runtime even in early December, thanks to warm-white 2700K LED selection.[1]
Pain point solved: Low cost and nationwide availability; easy replacement without redesigning your whole scheme.
4. Antheia Outdoor LED Solar-Powered Decorative Spike Light
BBC Gardeners' World Magazine awarded this spike and bollard light their Best Buy for durability and four-year warranty coverage.[2] The design elevates the solar head above ground-level moisture and snow, critical for preventing water intrusion in freeze-thaw cycles. Rated for year-round use, it's built to survive wet British winters and will handle North American snowbelt climates too.[2]
Pain point solved: Raised platform and premium sealing mean the battery cavity stays dry even after weeks of melt and refreeze.
5. Gama Sonic Matte Black Path Lights
Tested extensively by real homeowners (not lab reviews), these path lights scored high marks for consistent glow and corrosion resistance.[3] The matte finish minimizes glare, and the internally durable construction, with quality LED lifespan rated at 25,000 hours and 3000K warm white, creates a cohesive nightscape even in partial shade if you space them at 4-foot intervals.[4] Winter runtime is respectable for path lighting because the modest lumen output (around 25-40 lumens per unit) doesn't demand heroic battery capacity.[4]
Pain point solved: Realistic specs and restrained light output mean reliable performance without overpromising.
--
--
What Specs Should You Check Before Buying?
Don't trust marketing claims alone. Here's a practical checklist:
-
IP Rating: Aim for IP54 or higher for temperate climates; IP65+ for snow belt or coastal salt spray. IP44 is the floor; anything lower fails under heavy rain or freeze cycles.[1][2][4]
-
Battery Chemistry: Lithium-ion or LiFePO₄ beats alkaline for cold tolerance. Confirm the battery is replaceable (sealed units are throwaway designs and violate my core bias against non-serviceable fixtures).
-
Panel Wattage and Cell Type: Look for monocrystalline (not amorphous) cells. A 1-2W panel with MPPT charging (like Linkind's SolarDot™) outperforms a nominal 0.6W panel in low-light weeks.[4][7]
-
Winter Run-time Claim: Divide the manufacturer's "up to X hours" by two. That's closer to real winter performance after cloudy days. If a light claims 12 hours, plan on 6-7 in December.[4]
-
Color Temperature: 2700-3000K (warm white) is wildlife-friendly and neighbor-safe; anything over 5000K risks attracting insects and glare complaints.[5]
-
Lumen Output: Landscape lights work best at 20-60 lumens; path lights at 30-80 lumens. High lumen count drains batteries faster and creates harsh shadows.[4]
How Do You Install Flat Solar Lights So They Survive Winter?
Placement and anchoring matter more than panel efficiency. Here's the process I use:
Site Selection (Weather-Aware Timing)
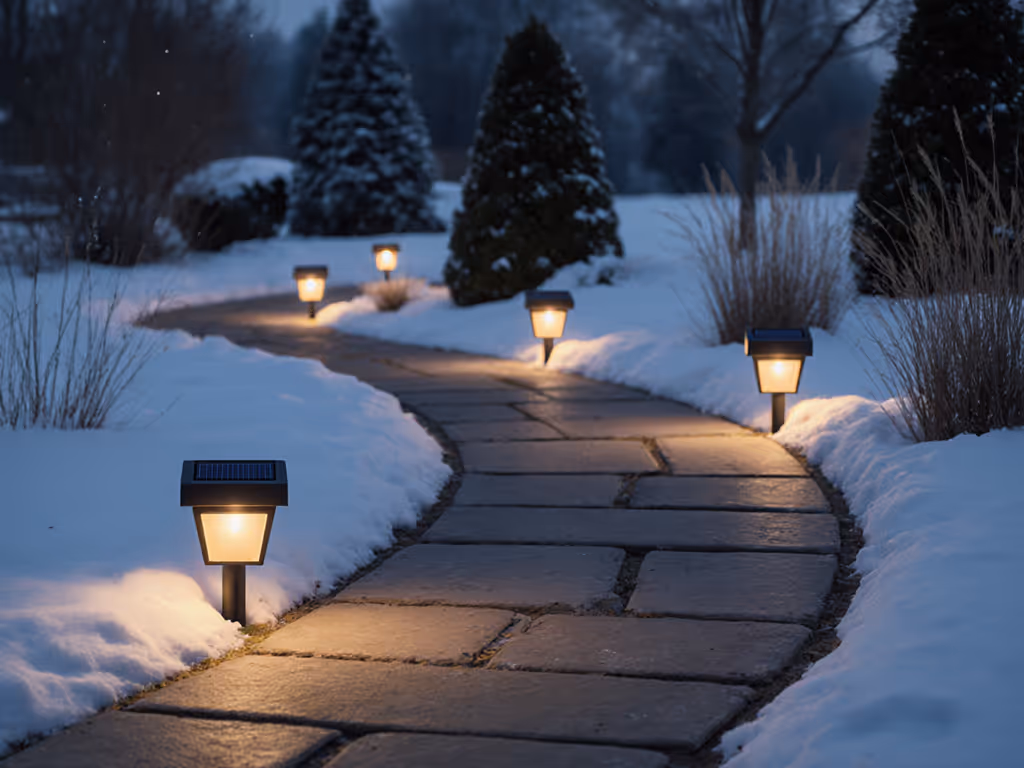
Map your garden's sun exposure in December or January if possible. Use chalk to mark the sunniest spots at solar noon (typically 1-2 p.m. local time). Trees you think are leafless still filter 20-30% of winter light, especially on low-angle mornings. Place your lights in the clearest zone, unobstructed south or southwest-facing areas get priority.
Pre-Installation Checklist
- Confirm soil is not frozen. If frost is deep, wait for a thaw or bore a small pilot hole the evening before install.
- Inspect the stake and seals before driving it into soil. Dry fit before you dig, insert the stake dry, check for bent prongs, and test the battery compartment.
- Test each light indoors for 48 hours before field install. A failed battery is no surprise if caught on the bench, not after staking it in the cold.
Anchoring Techniques
After my windstorm loss, I learned that ground resistance is everything:
- Pre-drill frozen soil. Use a steel rod or a cordless hammer drill to make a pilot hole. This prevents stake damage and reduces installation time by half.
- Surround the stake base with a gravel collar. Create a 2-inch raised mound of pea gravel or crushed stone around the stake entry point. This improves drainage and prevents ice wedge-ups that heave the stake in freeze-thaw cycles.
- Check plumb and wiggle test. Drive the stake until it resists further pressure. Wiggle it side-to-side; if it moves more than 1/4 inch, drive deeper or choose a firmer soil spot.
- Revisit after the first freeze. Return one week after the first sub-20°F night and re-check all stakes. Ground heaving is normal; re-set stakes if needed.
What Maintenance Keeps Flat Solar Lights Running All Winter?
Minimal effort, consistent results: For a full seasonal checklist, see our year-round solar light maintenance guide.
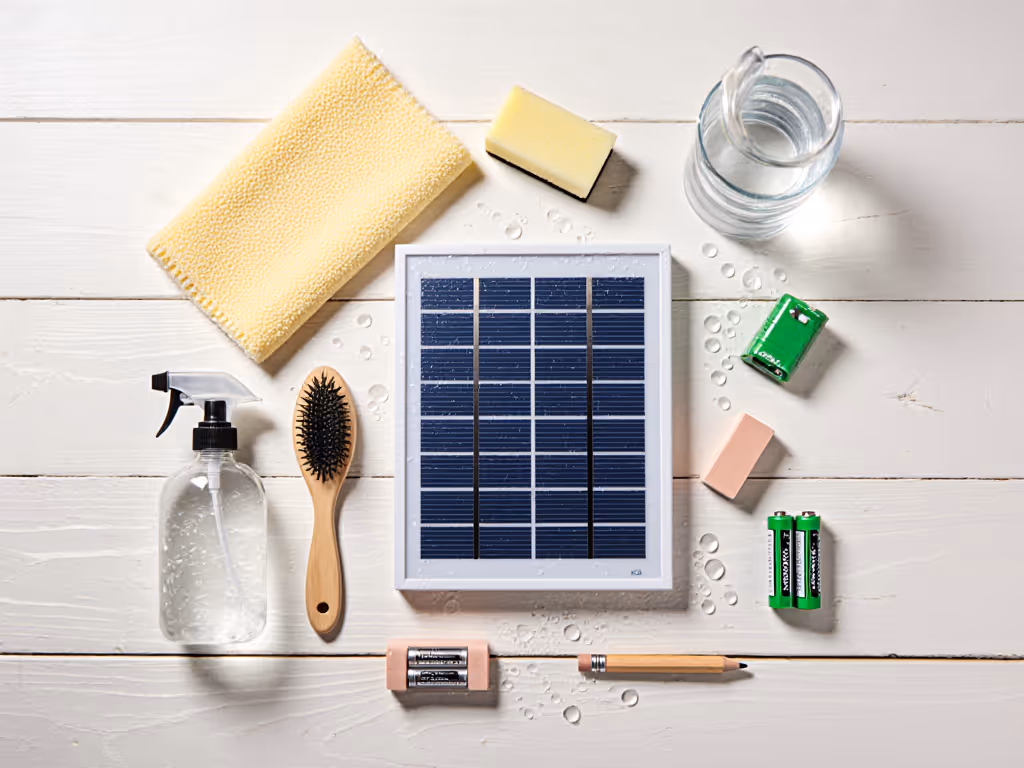
- Clean panels monthly. Dirt, moss, and pollen reduce charge by 20-30%. Use a soft cloth and tap water; avoid abrasives.
- Clear snow within 24 hours after heavy fall. Wet snow sticks longer than dry, and icicles can bend stems. A gentle brush is enough; don't gouge the lens.
- Check battery terminals seasonally. Pop open serviceable compartments in November and March. Corrosion on battery contacts kills performance. A pencil eraser cleans contacts safely.
- Monitor run-time drift. If a light that normally runs 8 hours now quits after 4, the battery is aging. Replace it in-season, not mid-winter when cold batteries are hard to charge and you're least patient.
--
--
Do Flat Lights Work in Partial Shade?
Not as advertised. A flat solar light under 50% shade will charge slowly and underperform in winter. However, models with landscape solar lights specifically designed for moderate shade (like the Linkind units with 16 million RGBW options) use smarter power management to eke out reasonable runtime from low light.[4]
If your best site is shaded, consider tilting the panel toward the clearest winter sun path (usually southwest at a 30-45° angle) or placing the light where it receives 3+ hours of unfiltered midday sun. Remote-panel designs (less common in flat fixtures) can be angled separately; most all-in-one units are limited. For the science behind shade patterns and charging, see our dappled shade charging guide.
How Do Real-World Tests Compare to Marketing Claims?
Search results from independent testers (BBC Gardeners' World, Chris Loves Julia, Linkind's own user reviews) reveal a consistent pattern: winter runtime is real only if you buy an IP54+ model with lithium or LiFePO₄ batteries and install it in unobstructed sun.[1][2][3][4] Marketing "up to 14 hours" gets cut roughly in half under cloudy December conditions.[4]
The Linkind SP6C, for example, achieves 14 hours in lab or summer; reviewers report 6-8 hours across a winter week of mixed sun and cloud.[7] VOLT® path lights hold steady at 8-10 hours year-round because their specs are conservative and battery tuning is climate-aware.[1]
Fake reviews abound. Look for field reports that mention specific seasonal challenges (freeze-thaw, snow cover, multiple cloudy days) rather than generic "5-star, works great" posts.
Actionable Next Steps
Week 1: Assess Your Winter Sunlight
Visit your yard at solar noon (1-2 p.m. local time) on a clear day in late fall or winter. Mark the brightest, most snow-free spots with chalk or flags. Avoid areas where trees, fences, or house walls cast shade for more than 4 hours. These are your solar light zones.
Week 2: Audit Your Current Setup (If Replacing)
Pull any existing lights and inspect the stakes, battery compartments, and lenses. Note which ones corroded, cracked, or failed to hold plumb. This tells you what to avoid in your next purchase.
Week 3: Select and Pre-Test
Choose 2-3 models from the five tested above that match your site and aesthetic. Order one of each if budget allows. Unbox them, open battery compartments, and test indoors for 48 hours. This catches DOA units before installation.
Week 4: Install with Winter-Proof Anchoring
On a mild day (above 40°F), choose your sunniest spot and pre-drill the stake hole. Surround with a gravel collar. Install just one unit first, mark the date, and monitor its performance through one full cloudy cycle (2-3 days). If runtime meets expectations, roll out the rest.
Ongoing: Revisit Monthly
Check for debris, re-tighten stakes after freeze-thaw, and log runtime observations. A simple dated note ("Dec 15: ran 7 hrs after 2 cloudy days") reveals whether your lights are holding winter performance or trending toward failure.
Good placement and anchoring beat replacing lights later. Once your flat solar lights are secured and sited in real sun, they'll carry your yard through dark season and every storm after.
Related Articles